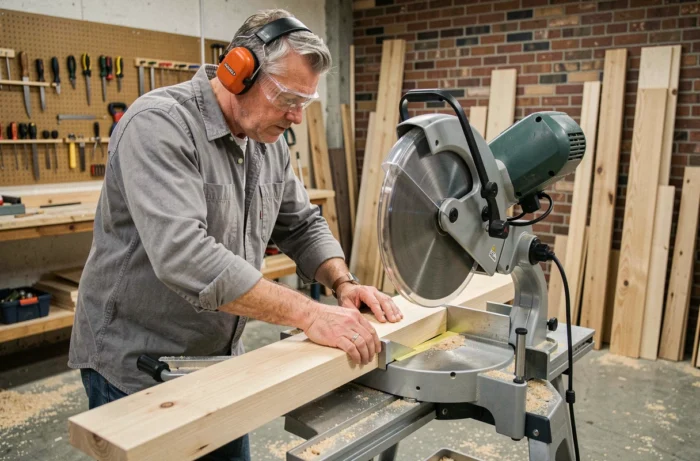
When cutting oak baseboards for an entire room and the first 45° miter cut does not fit the wall, the problem rarely comes from the saw. It comes from the initial setup and how the piece is positioned against the guide. The radial miter saw is a precise tool, but this precision is useless if you skip the calibration step before the first cut.
Calibrate the blade and guide before any miter cut
You plug in the saw, lower the head, and cut. This is the common reflex, and it is the source of most misaligned cuts. Before touching the wood, you need to check two things: the squareness of the blade relative to the guide and the perpendicularity at the 0° position.
To know how to reliably use a radial miter saw, start by placing a carpenter’s square against the blade (motor off, blade lowered) and against the rear guide. If a gap appears, correct it with the adjustment screw of the pivoting table.
Most models have a locking mechanism at 0°, 15°, 22.5°, 30°, and 45°. These factory preset notches can drift after a few transports. Cut two 45° miter pieces, assemble them: if the total angle does not give exactly 90°, the notch is misaligned. Correcting this misalignment takes two minutes and saves hours of rework.
Depth adjustment and radial movement: cut wide without forcing
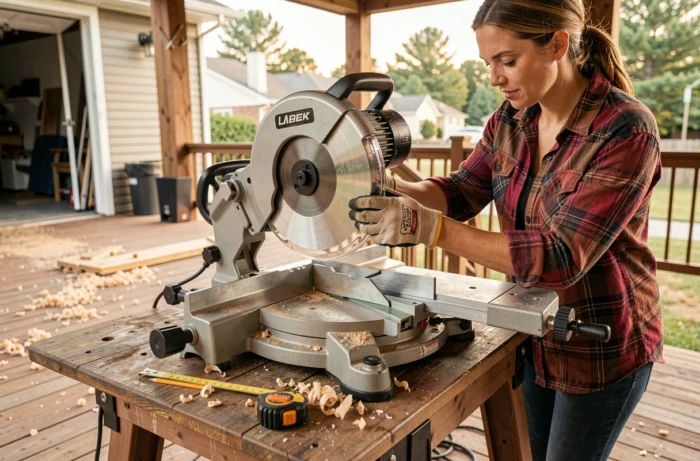
The feature of a radial saw compared to a simple miter saw is the sliding mechanism. The head slides back and forth on horizontal bars, allowing you to tackle pieces wider than the diameter of the blade.
The correct gesture is counterintuitive. You do not push the blade forward to start the cut. You pull the head towards you, then lower and push: the movement goes from back to front. Pushing first causes the piece to recoil, especially on soft wood or PVC.
Depth stop for bevel cuts
The depth stop limits the downward movement of the blade. It is useful for grooves and partial cuts. You set it by manually lowering the head (machine off) to the desired depth, then locking the stop screw.
On bevel cuts (side tilt of the head), the cutting capacity decreases. The blade tilted at 45° loses part of its vertical travel. Returns vary on this point from model to model, but you generally lose a significant portion of the useful cutting height compared to the vertical position.
Noise thresholds of a radial miter saw and mandatory hearing protection
Standard guides mention safety glasses and sometimes noise-canceling headphones. They overlook the regulatory thresholds that make hearing protection not just recommended, but mandatory.
Woodworking machines, including radial miter saws, are classified in a range of 85 to 100 dB(A). According to regulation RD 286/2006 and the technical guides of the INSST:
- Above 80 dB(A) of daily exposure, the employer must provide hearing protection to operators.
- From 85 dB(A), wearing hearing protection becomes mandatory and work areas must be marked.
- The perceived level under the protectors must be reduced to between 65 and 80 dB(A), which leads to choosing plugs or headphones with a SNR rating of 25 to 30 dB.
For an individual in their garage, no legal obligation applies. But the noise level remains the same. Working without hearing protection during a prolonged cutting session exposes you to cumulative hearing damage.
Choosing a blade according to the material: wood, plastic, metal
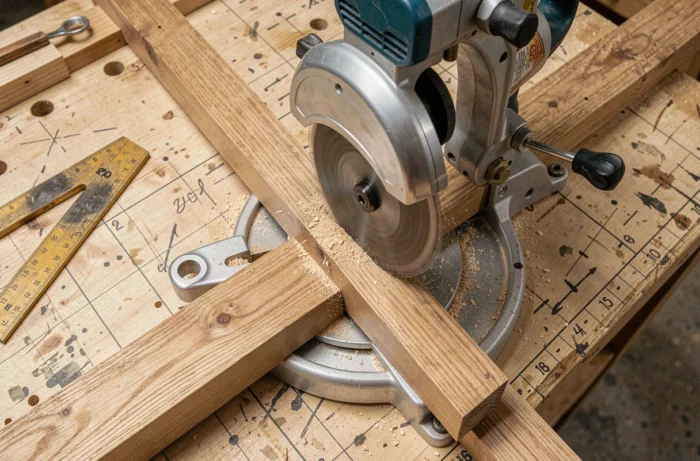
A radial miter saw is not limited to wood. You can cut PVC, aluminum, and certain metal profiles, provided you adapt the blade.
- For solid wood and glued laminated timber, a blade with alternating teeth and a medium number of teeth is suitable for most common woodworking tasks.
- For plastic and PVC, reduce the rotation speed if the machine allows it, and choose a fine-toothed blade. A speed that is too high melts the plastic instead of cutting it.
- For aluminum and lightweight profiles, a specific blade with a negative tooth angle (negative attack angle) prevents the blade from “climbing” on the metal. Never use a wood blade to cut metal.
The number of teeth directly influences the finish. The more teeth there are, the cleaner the cut, but the slower the feed. For rough framing cuts, a blade with fewer teeth is sufficient and preserves the motor.
Dust extraction in the workshop: a often underestimated point
The radial miter saw produces a considerable volume of sawdust, especially when making radial cuts on wide pieces. The collector bag provided with the machine captures a fraction of this dust, rarely more than half.
Connecting the saw’s dust port to a workshop vacuum with a filter suitable for fine dust radically changes the cleanliness of the workspace. Fine wood dust (MDF, melamine) is classified as irritating to the respiratory tract. An FFP2 mask remains relevant in addition to extraction, especially in a poorly ventilated space.
The position of the dust port varies by brand. On some machines, it is located at the back of the casing. On others, it is under the table. Checking this point before purchase avoids discovering that you cannot connect your existing vacuum.
The last reflex to adopt concerns the cutting table itself. Accumulated sawdust in the blade passage groove prevents the piece from resting flat, which distorts the cutting angle. A blast of air or vacuuming this groove between each series of cuts maintains the machine’s precision throughout the duration of the project.