The roller marks on a painted wall result from a connection defect between the bands of fresh paint, an excess of material on the sleeve, or too rapid drying that prevents working “wet on wet.” Eliminating these marks once the paint is dry requires a precise method; otherwise, each local touch-up risks creating a new gloss defect.
Raking Light and Diagnosis of Roller Marks
Before sanding or repainting, the diagnosis determines the next steps. A raking light (a lamp directed almost parallel to the wall) reveals the excess thickness, the raised edges of the sleeve, and the variations in gloss that normal lighting partially masks.
This step changes the decision: a wall that appears uneven under raking light may be perfectly acceptable when viewed head-on from a normal distance. Conversely, discreet connections in daylight become very visible when the sun hits the wall at the end of the day.
Therefore, assess the wall in both conditions. If the marks are only noticeable under extreme raking light, a local touch-up may suffice. If they appear under normal lighting, the entire wall section needs to be redone. To delve deeper into this diagnosis and correction techniques, you can read the article on the Building Construction Guide that details each scenario.
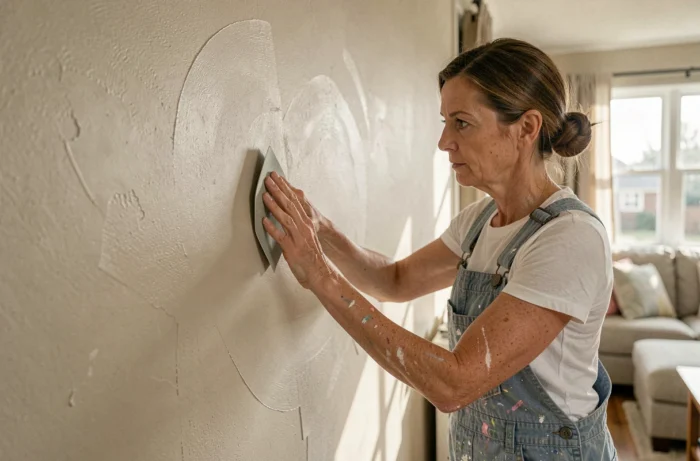
Sanding the Wall Before Repainting
Sanding is the only way to physically eliminate the excess thickness left by the roller. If done poorly, it creates hollows in the drywall or alters the surface texture, making the next coat even more uneven.
Choosing the Grit and Appropriate Technique
A fine-grit sandpaper is the starting point. A grit that is too coarse scratches the surface, and these scratches reappear under the new coat, especially with a satin or glossy finish.
- Sand using light circular motions, without pressing, only on the raised areas. The goal is to level the excess thickness, not to attack the substrate.
- Then dust off with a soft brush or a damp cloth. Sanding dust prevents paint adhesion if it remains on the surface.
- Run your hand over the wall after dusting: any residual roughness will be visible after painting. If you still feel a relief, resume sanding locally.
On drywall, vigilance is heightened. The surface paper tears easily under aggressive sanding, which requires re-coating before painting.
Local Touch-Up or Complete Wall Repainting
The temptation is strong to repaint only the damaged area. In practice, a local touch-up on dry paint often creates a new gloss difference, even with the same can of paint. The added paint film does not have the same thickness or texture as the rest of the wall.
This phenomenon is amplified with satin and glossy finishes, which reflect light more. The NF EN 13300 standard classifies paints according to their gloss level, opacity, and resistance to wet abrasion. The higher the gloss, the more visible even the slightest surface variation becomes.
When Touch-Up is Acceptable
On a deep matte paint, a small touch-up may go unnoticed if the area is small and the paint is applied with a small roller (not with a brush, which leaves a different texture). The connection must be blended at the edges, without a sharp border.
When to Repaint the Entire Wall
As soon as the marks cover a large area or the finish is satin, repainting the entire wall section gives a more uniform result than an accumulation of touch-ups. It may seem longer, but the time spent correcting touch-up after touch-up quickly exceeds that of a well-applied complete coat.
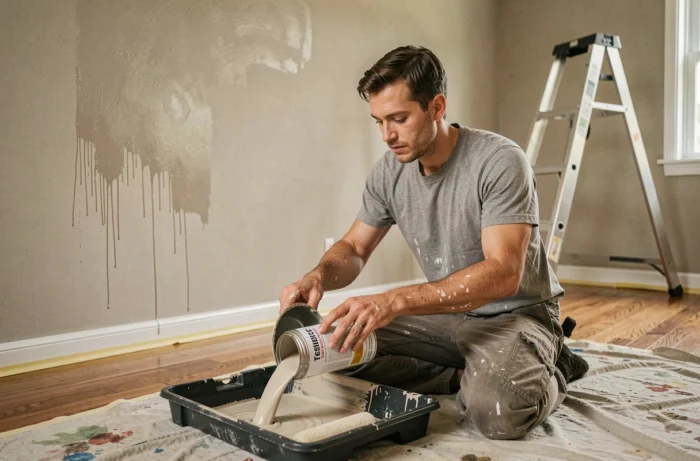
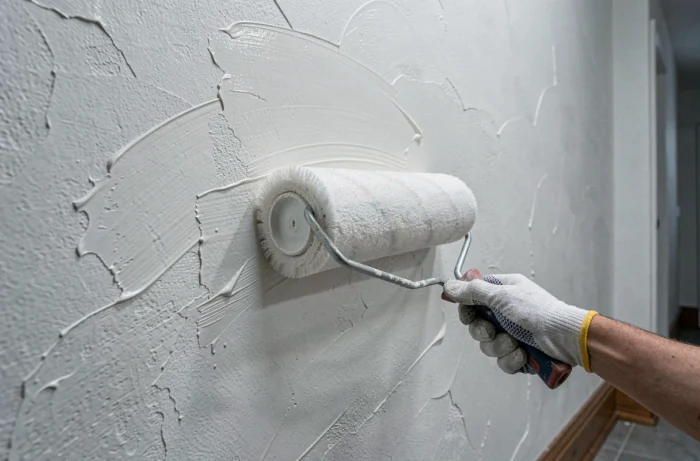
Roller Application Technique Without Marks
Correcting existing marks is only worthwhile if the repainting is done correctly. Two factors dominate: the load of the sleeve and the “wet on wet” connection.
Load the Sleeve Without Overloading
An overloaded sleeve leaves paint bulges at the ends of each pass. An insufficiently loaded sleeve requires pressing, which creates less covered areas. The balance is found by lightly wringing the roller on the tray grid after soaking, until achieving an even layer along the entire length of the sleeve.
Connecting Wet on Wet
The principle of wett on wet connection is to never let the edge of one band dry before applying the adjacent band. If the edge dries, the overlap creates a visible excess thickness, the infamous “touch-up connection.”
- Work in vertical strips about the width of the roller, first crossing horizontally and then smoothing vertically.
- Always move from the dry side to the wet side to blend the connections.
- Avoid direct sunlight, drafts, and excessively heated rooms: these conditions accelerate drying and reduce the available connection time.
The choice of sleeve also matters. A short-pile sleeve is suitable for smooth surfaces and glossy finishes. A medium-pile sleeve adapts to slightly textured walls. Using an unsuitable sleeve means compensating by loading more, which brings back the initial problem of overload.
Matte or Satin Finish: Impact on Visibility of Defects
The choice of finish determines the tolerance for imperfections much more than the quality of the technique. A matte finish absorbs light and masks slight flatness defects. A satin or glossy finish acts like a partial mirror that accentuates every relief.
For a wall whose substrate is not perfectly flat (old plaster, drywall with visible joints), opting for a deep matte avoids multiplying corrections. In contrast, humid areas like the bathroom often require a satin finish for its water resistance, which demands impeccable surface preparation before the first coat.
The primer plays a comparable role: it standardizes the absorption of the substrate. Without a primer, certain areas of the wall absorb more paint, creating differences in shade and gloss that resemble roller marks without being them.
A well-sanded wall, properly dusted, treated with an appropriate primer, and painted with a suitable sleeve in wet on wet connections very rarely leaves marks. The most common mistake remains the desire to correct too quickly, on a small scale, which multiplies texture variations instead of reducing them.